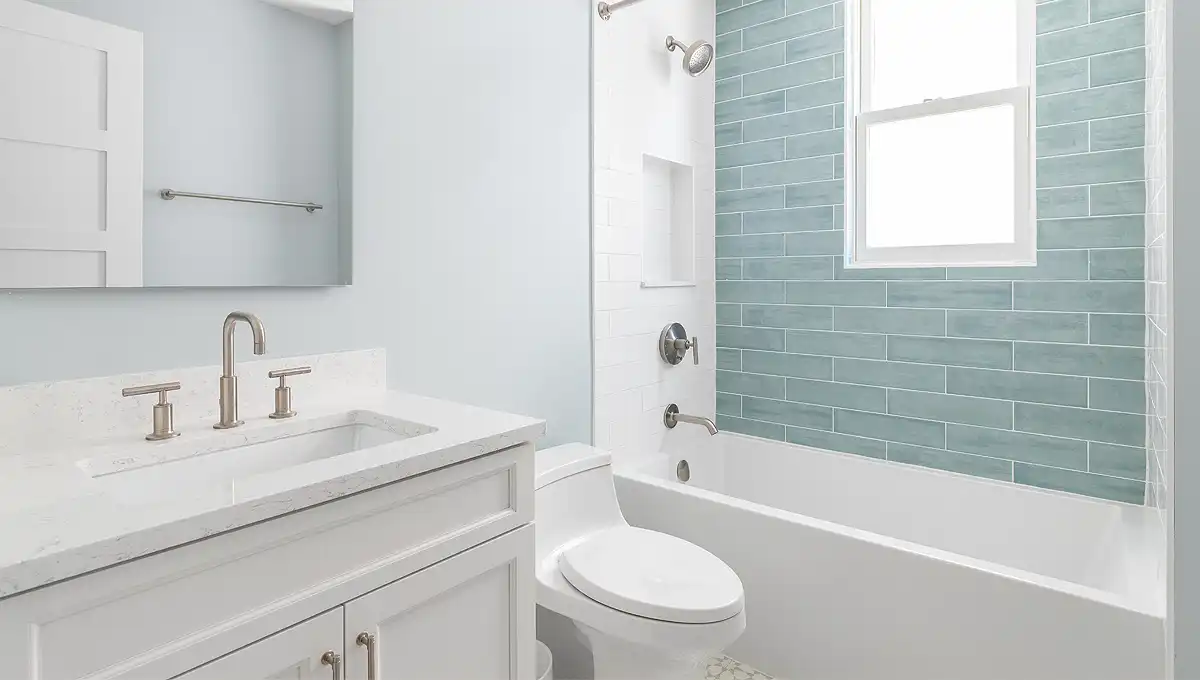
Sit back and let it all soak in.
Replacing a bathtub in a mobile home can enhance both functionality and aesthetics. Due to space constraints and unique construction, the process differs slightly from traditional home bathtub replacements. Here’s a step-by-step guide to replacing a mobile home bathtub.
1. Choosing the Right Bathtub
Mobile home bathtubs come in different materials, sizes, and styles. Common options include:
- ABS Plastic: Lightweight and affordable, but less durable.
- Fiberglass: A popular option with better durability.
Measure the existing tub to ensure a proper fit. Standard mobile home tubs are often 54 inches long, smaller than traditional bathtubs.
2. Gathering Tools and Materials
Before beginning, collect the necessary tools:
- Adjustable wrench
- Screwdriver
- Utility knife
- Caulk and caulking gun
- Level
- Pipe wrench
- Replacement tub and new plumbing fixtures (if needed)
3. Removing the Old Bathtub
Turn Off the Water
Shut off the water supply before disconnecting any plumbing.
Disconnect Plumbing
Use a wrench to detach the drain and faucet connections. If necessary, cut the supply lines carefully.
Detach the Tub
Unscrew or pry off any screws, nails, or adhesive holding the tub in place. If needed, cut along the caulked edges with a utility knife. Remove the tub carefully to avoid damaging the walls or floor.
4. Preparing for Installation
- Inspect the Floor: Check for signs of water damage or rot. Repair or replace any weak subflooring.
- Adjust Plumbing if Necessary: Ensure pipes align with the new tub. Use flexible hoses for easier connections.
- Clean the Area: Remove old caulk and debris before setting the new tub.
5. Installing the New Bathtub
Position the Tub
Carefully place the new bathtub in position. Use a level to ensure it sits evenly.
Connect the Plumbing
Reattach the drain, faucet, and water supply lines. Use plumber’s tape to prevent leaks.
Secure the Tub
Fasten the tub to the wall using screws or adhesive, as required. Apply caulk along the edges for a watertight seal.
6. Testing and Finishing Touches
- Turn on the water and check for leaks.
- Apply a final layer of caulk where necessary.
- Let the caulk dry before using the tub.
By following these steps, you can efficiently replace a mobile home bathtub, improving both its functionality and aesthetics.
All repair and modification suggestions provided are for informational purposes only and should be undertaken at your own discretion. Always follow safety guidelines, consult professionals when needed, and ensure compliance with local building codes.


